Are you fond of the Airpods? well, who is not right! I am too. But it’s really frustrating when AirPods sound muffled and interrupt our favorite movie or show. Is this happening to you? I have personally faced this issue for quite a time so I know how annoying this is. But hey wait! You will be glad to know that there are some fixes which can solve this issue of yours.
As we all know AirPod’s sound quality is far better than any other wireless Bluetooth earphones but it’s common for them to get small issues that make their sound low making one Airpod louder than the other but you need not worry, this is quite an easy fix.
Wondering what actually those fixes are? for that, I welcome you to my post where I will be sharing some easy yet effective fixes through which you can easily get rid of this issue. I hope at the end of this post your AirPods will be working totally fine. Without any further ado let get started.
Table of Contents
Why Does My Airpods Sound Muffle?
You will be shocked to know that this problem is not with just you it’s quite common with all AirPods users, and not just Airpods it can happen with any earphones or headphones and which is due to some dirt which gets traps in your Airpods Ports.
Other than this there are various other problems also which can cause these low sound issues with your AirPods. So finally let’s get to all the fixes to solve the problem.
Easy Fixes for AirPods Sound Muffled
So let’s get to the fixes, but before you follow any of the fixes make sure that your AirPods are charged fully or at least 50% charged so that you don’t need to put them in your charging case again and again during all the fixes.
1. Clean AirPods and Charging Case
If you don’t clean your AirPods from time to time then it should be your only issue causing low or muffled sound on your AirPods. Cleaning AirPods is important and you should clean them from time to time if you want to maintain the quality of your Airpods and also wants to increase their lifespan.
We recommend cleaning your Airpods every month or at least once in 3 months to maintain their sound quality.
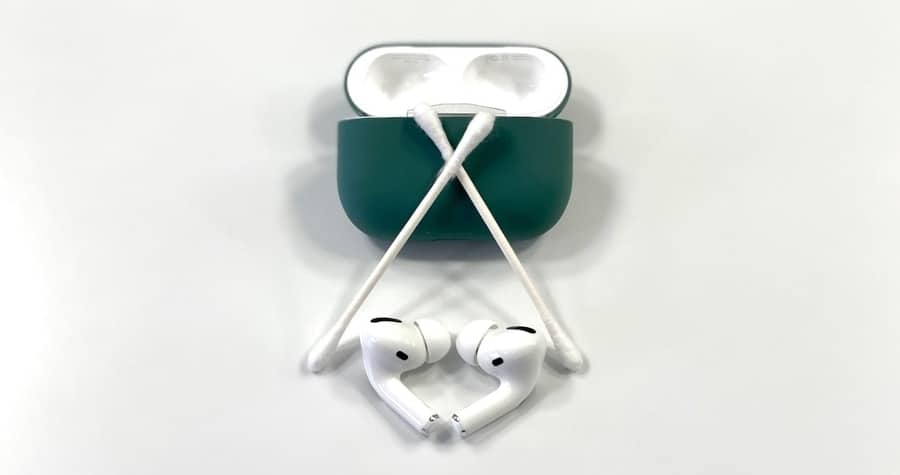
Things require for cleaning Airpods:
- Microfiber cloth
- Q-tip
- Toothpick
- Screen cleaner (any optic cleaner)/ Rubbing alcohol (90% or higher)
- Compressed air pump (optional)
Once you have all the things available now is the time to get into the steps to clean your AirPods:
1. Wipe Exterior of Airpods with Microfiber Cloth and Clean hands
The first step is to clean the exterior part of your Airpods with a microfiber cloth to remove small dust particles from your Airpods.
If you don’t have any Microfiber cloth you can also use any smooth cotton cloth for the process, just don’t use any rough cloth in this process. It’s best if you clean the AirPods every time after using them to keep them free from dirt and protect them from any issues.
2. Clean the Airpod Speakers Ports
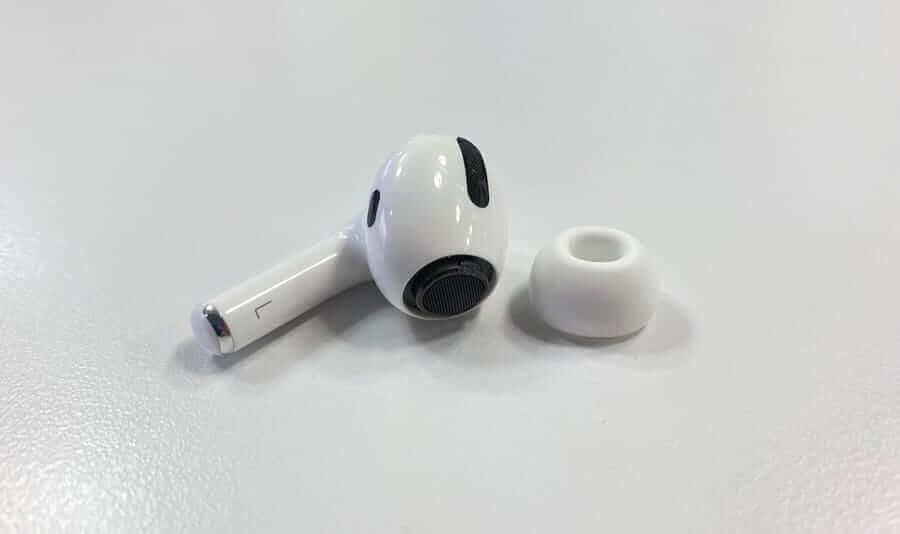
Now the next step is to clean the interior of the port of your AirPods. So if you have the Airpods with earbuds then remove them and clean them with a microfiber cloth and rubbing alcohol.
Cleaning the speaker ports in Airpods:
- Spread the rubbing alcohol or screen cleaner using Q-Tip over the port to make the sticky hard dust soft and let it still over there for a couple of seconds.
- Use a toothpick to remove any of the visible buildups over the port of the Airpods. These are the things that cause muffled sound quality.
- Wipe it with a microfiber cloth to remove the dirt and to make it dry.
- Use compressed air to remove any of the leftover dirt which got stuck on the port of the Airpods.
- Now finally allow it to dry properly and place the earbud over it again.
- Repeat the process with another airpod piece.
After you cleaned them both properly now it’s time to clean the charging case so that any dirt inside the case doesn’t get over your Airpods again.
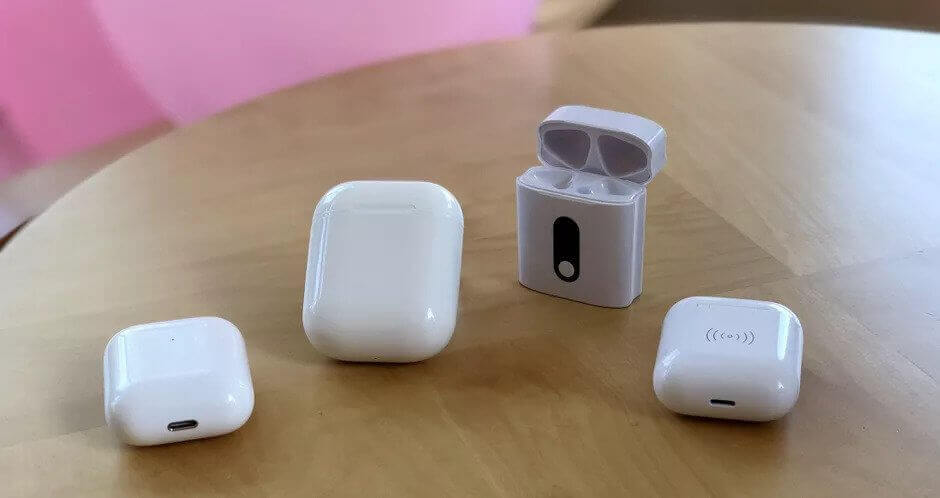
3. Clean the Charging Case
Cleaning the charging case is also important as the dirt from the case can also get into the AirPods and can also interrupt the charging ports. So it’s better to clean them timely so that your AirPods last long without any kind of problems.
Steps to clean the charging case:
- Use a toothpick to clean inside the case and to remove any dirt which is stuck beneath it.
- Use Compress Air to blow off any dirt inside the charging case.
- Use a Spray Cleaner with Q-tip to clean the small dust particle properly.
- Finally, use the microfiber cloth to clean up if anything is left to clean inside and to remove any spray if left inside the case.
Make sure to clean it weekly or at least twice a month.
After following all the steps to clean your AirPods properly check if the Airpods muffled sound is now fixed or not. 10 out of 9 cases of muffled or low sound in AirPods are solved after properly cleaning the AirPods thoroughly.
2. Check for Stable Bluetooth Connectivity
If the cleaning doesn’t work for you then sometimes this could also happen due to low or unstable Bluetooth connectivity. Bluetooth connection is used for only short data transition and any sort of disturbance in between the Bluetooth creates distorted or muffled sound.
So to solve any problems which happen due to Bluetooth connectivity follow the steps given below:
1) Disable Nearby Bluetooth Devices
Nowadays we have various of Bluetooth devices in our home and due to huge Bluetooth interferences, it is possible that the connectivity with one of the device gets weak. So in order to stop this from happening you need to disable nearby Bluetooth devices so that your device stops using the Bluetooth devices which are not currently needed.
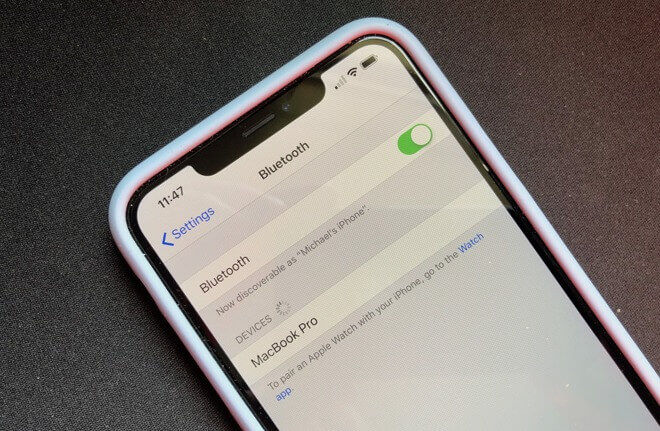
To do this go to Settings > Bluetooth and remove all the devices which are not in use currently from your device. So that multiple devices stops using the same Bluetooth connection making it weaker.
2) Toggle Bluetooth On & Off
For any service to work properly it is important to restart them from time to time, so is the case with Bluetooth, so it’s better to toggle it off and enable it again after waiting for at least 10 seconds. Just simply toggle it from the notification bar.
3) Forget This Device
So if nothing works for you then you might need to remove your AirPods completely from your iPhone, Mac or iPad and reconnect it again.
To do this go to Settings > Bluetooth and look for your Airpods, select them and click on Forget This Device option as shown in the image below.
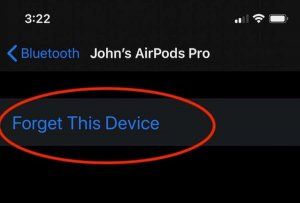
After removing the AirPods you again need to reconnect them with your device and check if the muffled sound problem is solved or is it still low in volume. If the problem persists go to the next solution.
3. Check Your IOS for Device Updates
Sometimes a software bug or glitch also causes this issue and so it’s important to have the latest software update installed on your device. So if you are not on the latest update then you need to install the update first to check if the muffled sound you are facing in your AirPods is due to the software or not.
TO check for the update on your iPhone, iPod, or iPad follow the steps:
- Open the Settings app
- Go to Settings > General > About
- Find the current Version Number on the About page.
Now all you need is to google the latest version of the current IOS and check if you are on it or not. Usually, you will see the update section at the top of the Settings but sometimes it takes time to rolls onto your device.
Also, if you have a feeling that your Airpods were working fine on the previous version of the IOS and it happens after you updated you need to give the apple service center a call and provide them with the bug and they will troubleshoot you with the solution.
4. Reset Your AirPods
If nothing works for you until now, then the only possible method left is to reset the AirPods, sometimes various of the issues get solved when you reset your AirPods. It’s just a minute of the process to easily reset your AirPods.
Steps to Reset your Airpods:
1) Press and hold the setup button given at the back of your Airpods for approximately 15 seconds.
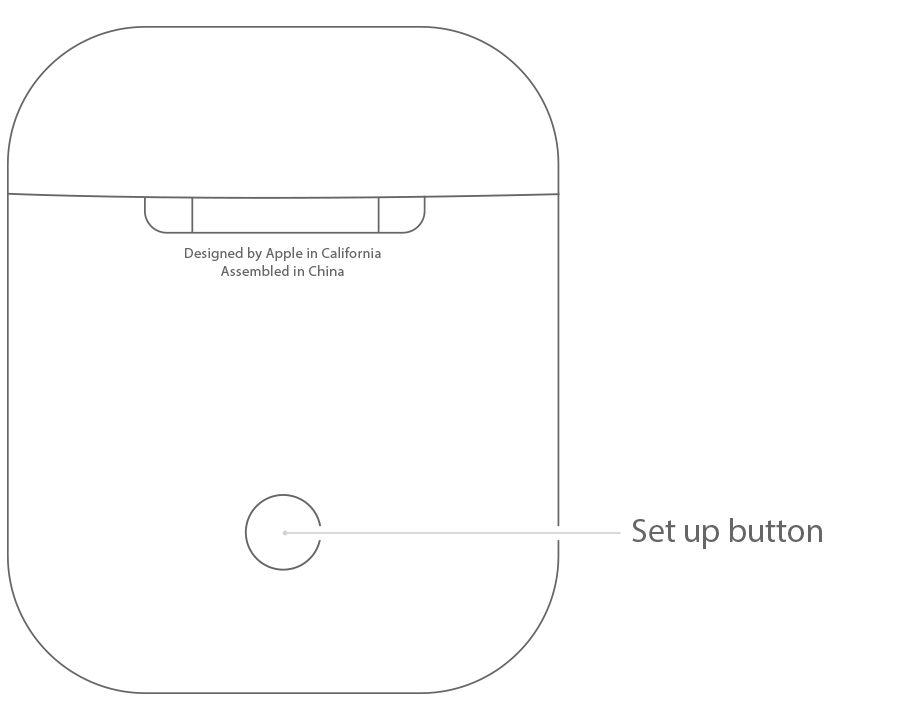
2) Wait until the LED indicator turns white. It will start flashing in the beginning and then it will settle on a white light which is our queue to leave the setup button which we pressed.
3) Now take out the Airpods from the case and hold them near your iPhone, MacBook, or iPad until a pairing option popup on your device.
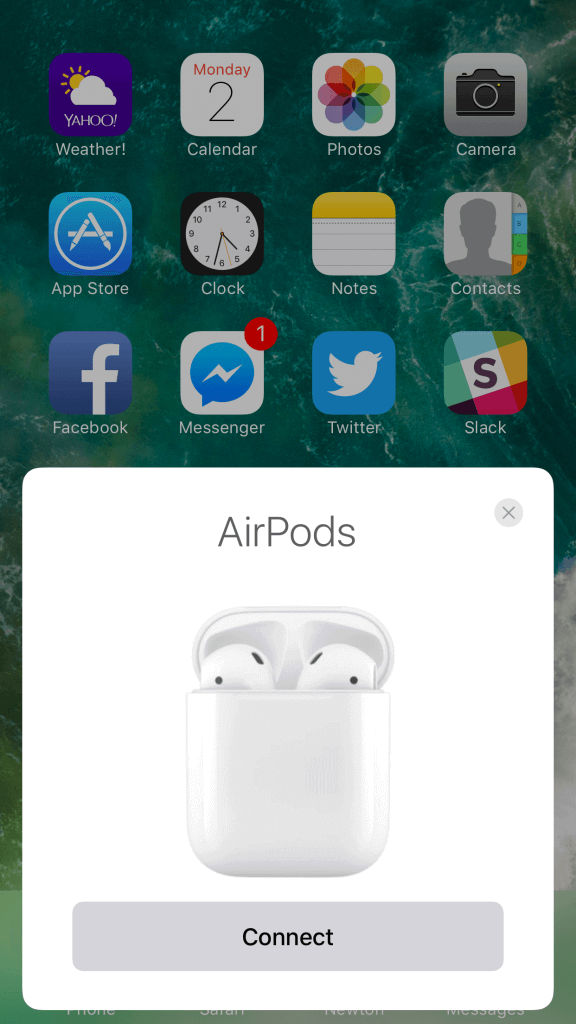
4) Click on Connect and you have finally paired again with your device.
5) Now the final step is to listen to some piece of music and check if the muffled sound is there or not. Mostly your Airpods Muffed Sound will be fixed after resetting your device.
5. Replace Your AirPods if Under Warranty
If nothing works for you then you need to check when you bought your AirPods, Apple provides 6 months of warranty on their Airpods and if you are under warranty then you will get a free replacement if there is any problem with your Airpods.
If you are not under warranty then usually AirPods doesn’t get repair so the only way possible is to get replaced which will cost you a lot of money which I don’t think is worth but it’s better to contact apple and know about it from them.
What if Your AirPods Still Muffling?
If you are stilling having a low sound problem with your AirPods then it might be the case that while cleaning your AirPods you might not doing it properly due to a lack of knowledge. So I am adding a video tutorial for the same so that you can check and try it again properly.
95% of the time the only problem is with your AirPods ports and this can be easily fixed at home. So just follow the video properly and you will get fixed with your AirPods Muffled Sound in no time.
What To Do if Nothing Works?
If you got to this section of the article, then I can assume that you have tried all of the fices given above in this article, but you are still having muffled sounds in your AirPods. So if so the case then it’s better to take some help from professionals.
However, you can contact Apple support for troubleshooting or also contact the Apple service center and get it replaced only if it’s under warranty otherwise the replacement will cost you much more. But it’s worth contacting them once as many of the times the professional handles the things better. They will look into the problem and let you know that if they can fix it or not.
If the problem is not with the hardware part of your AirPods then they will solve it for you in no time with a minimal amount of fees, which is far better than spending a huge amount of money again on buying the AirPods for your device.

